Construction
End Caps
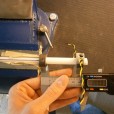
The first components to be constructed were the magnetic coil end caps. Mixing and molding the iron-epoxy compound was challenging to say the least. The mixture ratio has to be just right. If there’s too much epoxy, the end cap won’t be ferrous enough and might as well be a chunk of plastic. If there’s too much iron, the piece will conduct eddy currents and possibly crack when coming out of the mold. Also, the right amount of compression has to be applied to the mold- too much compression will cause the epoxy to ooze out, leaving an overly iron-rich piece inside. I had to make 16 end caps to get 9 that were good- meaning I had a 56% success rate with this process. Each piece took 48 hours to dry, making the effort long and frustrating. Lastly, the end caps were fitted with brackets to mount the infrared projectile sensors and coil magnet wire.
- Molded Coil Endcaps
- Coil Stage Design
- Completed Endcaps
Coils
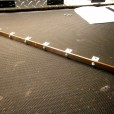
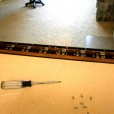
After the end caps were completed, they were positioned along the barrel and holes were drilled so the IR detector beams could shine across the barrel. Then the coils were wound carefully in between the end caps with the aid of my vice grip. Each inner coil layer is secured with a single layer of packing tape.
- Placement of Coil Endcaps
- Coil Winding
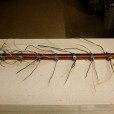
- Completed Coils
Projectiles
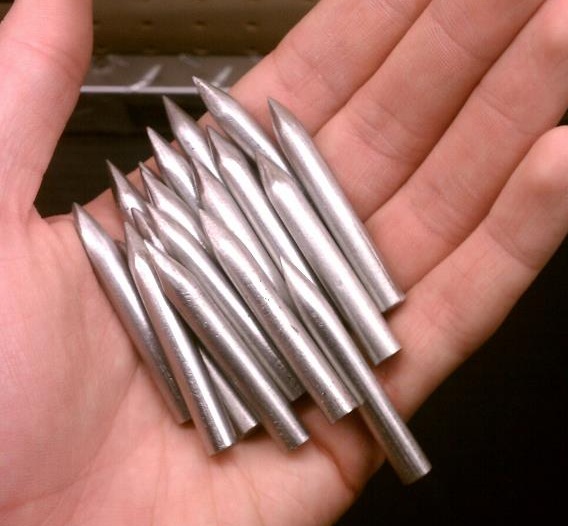
An advantage to using steel nails as projectiles is the ease of fabrication, which is a huge plus when you need to make twenty of them. Each projectile was simply measured, cut, and filed into shape. Maintaining a precise length was important to insure that each projectile extends far enough to trip the first stage IR trigger when pushed out of the magazine.
Finished Projectiles
Initial Testing
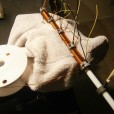
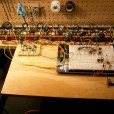
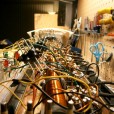
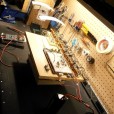
It’s a good idea to make sure everything works before you expend a ton of effort refining it into a final product. I built a plywood testbed upon which I could easily lay out all of the components of the gun for testing. I cut two copper bus bars and connected the coils to the batteries in a similar manner as the final product in order to have an accurate test. The power supply and switching circuits were built on breadboards, and everything was connected together in a way that made it easy to take apart again to make changes and repairs. I also purchased a Chrony F-1 speed trap for measuring the speed of the projectiles in order to compare the actual performance to what I had designed for.
- CG-42 Testbed
- Extreme Science View
- The Coilgun Firing Range
The first test shot was fired on January 27th, 2012 with a single stage and single battery, since I had never built something like this before and wasn’t really sure of what would happen. You can watch a video of the very first test shot below.
The remaining stages were then added to the testbed and fired. Initial test results for the first seven stages are given in the table below:
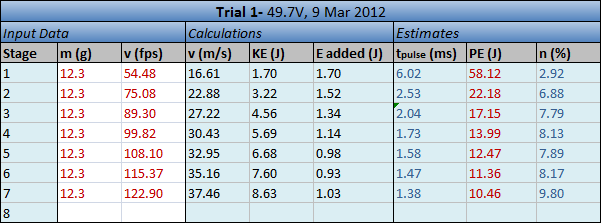
Test results for first seven stages.
Total efficiency (n) is defined as the percentage of energy removed from the batteries that becomes projectile kinetic energy (KE/PE*100%). The cumulative total efficiency is about 5.9%. The 8th stage wasn’t fired because part of it exploded during testing. Clearly there were issues to be worked out before the electronics could be put into a handheld gun, but I had enough data to show that the 10J muzzle energy goal was well within reach.
Switching Assembly
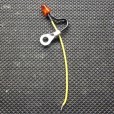
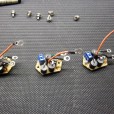
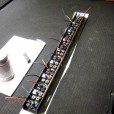
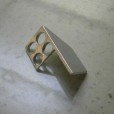
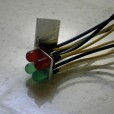
Next I built the plastic housing for all of the high voltage components used to switch the coils on and off. Two thick copper bus bars connected to the battery terminals run the length of the housing down either side. Between the copper rails are the eight IGBTs, one to switch each coil. Between each IGBT is a small circuit board containing the voltage suppression electronics. Initially, each voltage suppression circuit board contained four series diodes, which I mistakenly thought was the fastest way to quench the coil current. Later, I learned that the single diode/resistor method was much faster, so each circuit board was removed and upgraded. Lastly, each stage has a red LED that lights when the IGBT is conducting. This provides a fault indicator if a coil is erroneously switched on as well as a cool “racing LED” effect during each shot.
- IGBTs Installed
- Copper Busbar Fabricated
- Busbars Installed
- Switch Indicator LED
- Early Voltage Suppression Circuit Boards
- Circuit Boards Installed
Frame
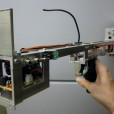
The gun frame had to be built twice. The first attempt was based on a design that just couldn’t be built with hand tools, so I redesigned it to use pre-existing aluminum cross-sections to minimize parts, cuts and joints. The second design was stronger and easier to build, but several parts still had to be redone once, twice, and even three times until I had something that was solid and respectable. By the time the aluminum frame was complete and ready to accept the gun components, I had probably ingested more aluminum sawdust than a healthy human being ever should, but it was worth it. The final product is extremely rigid and sturdy, with no rattles or creaking even when tested under heavy loads (such as when I accidentally ran into it head-first while vacuuming the floor one day).
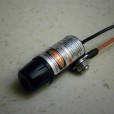
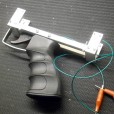
Lots of additional components were built into the frame. The pistol-grip and trigger are hugely improved from the CG-33. The ergonomic grip is solidly bolted into the frame, and the trigger pulls smoothly and comes to a confident stop just as the shot is triggered. The select fire switch, power switches, battery monitor LEDs, circuit board mounting brackets, safety fuses and a targeting laser were all designed, built, redesigned and rebuilt and mounted into the frame during this phase as well.
- Foregrip Cut
- Vicegrip Used as Brake
- Completed Foregrip
- Led Panel
- Battery LEDs Installed
- Modified Laser Pen
- Laser, Switches & Fuses
- Grip & Trigger
- Completed Gun Frame
Circuit Boards
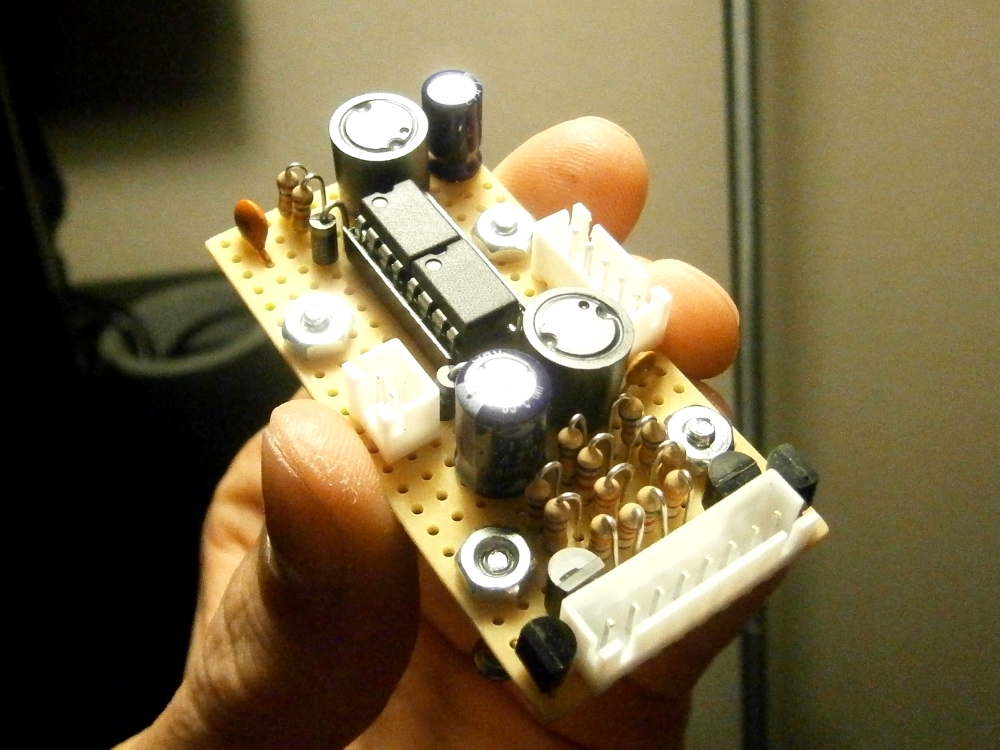
A circuit that makes perfect sense on paper won’t work when you simulate it, and a circuit that works perfectly in a simulator won’t work when you test it on a breadboard, and a circuit that works perfectly on a breadboard won’t work once you solder it together. Then you spend three weeks troubleshooting it, only to find that it starts working again for no reason at all. Thus went the process for the CG-42’s circuit boards.
In the end, everything worked out. The layouts of all the circuit boards were sketched on paper before-hand to fit into their small spaces while remaining neat and organized. Cramped, messy circuit boards make it easy for shorts and loose connections to occur. When your circuits are connected to two giant flammable batteries that you hold right next to your face when you shoot the gun, that’s some pretty serious business.
Projectile Feed System
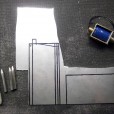
This was a challenge to build, as moving parts usually are. For the coilgun to operate reliably, the projectile feed system will have to operate smoothly and consistently even when actuated 10 times per second. The difficulty began with the magazine. Two magazines, three followers and four magazine springs were designed, built, and failed before I came to a good design that could feed the projectiles without jamming.
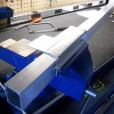
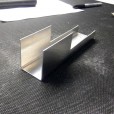
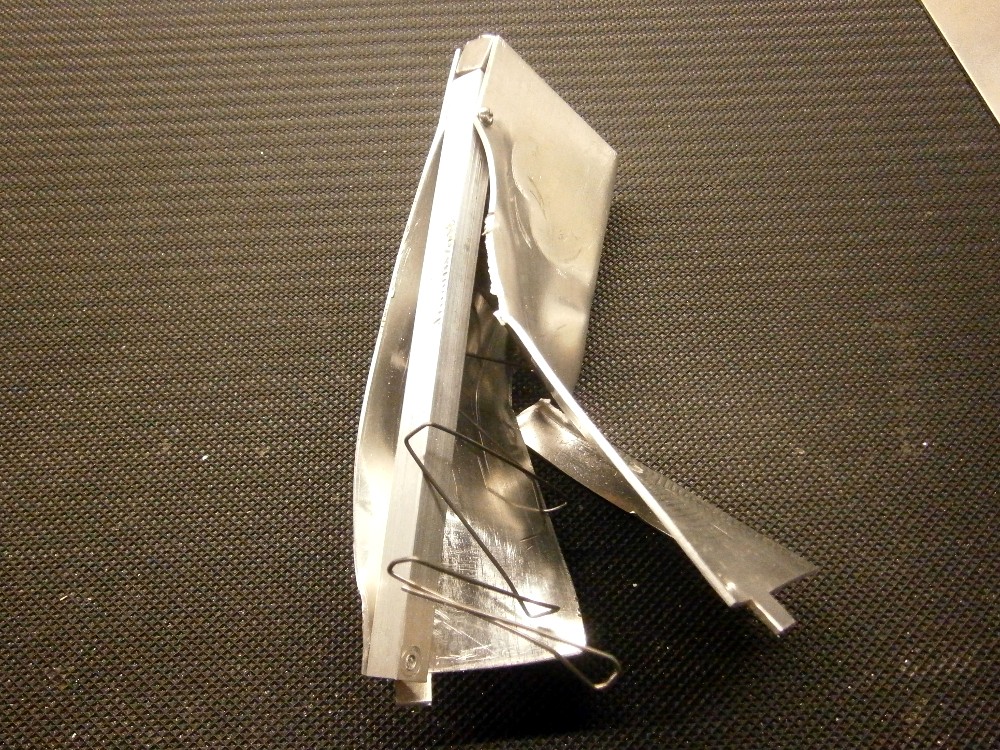
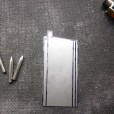
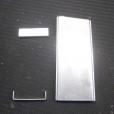
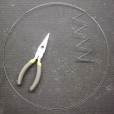
The final magazine is built from bended aluminum sheets joined with epoxy, and the spring was manually bent from steel wire. Instead of using a mechanical latch, the magazine is held in place by a Neodymium magnet.
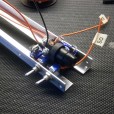
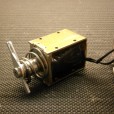
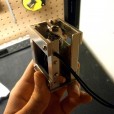
The injector solenoid required some modification to get it to function properly. The stock return spring didn’t provide enough force to retract the solenoid to its starting position when subjected to friction against the spring-loaded projectiles. Using two stock springs provided enough force, but the action was mushy and inconsistent. Using a trick from freshman physics lab, I measured the spring’s force constant and purchased a new single spring that provided double the force. This fed the projectiles much more reliably. After some time spent adjusting the positioning and stroke-length of the solenoid, I finally had a mechanism capable of sustaining full-auto projectile feed.
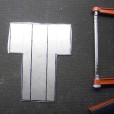
- Final Magazine Stenciled on Aluminum
- Magazine Plate Cut Out
- Magazine, Follower, and Base Plate
- Spring Bending
- Assembled Injector Mechanism
- Injector in Aluminum Housing
Final Testing
After many months spent connecting all of the components together and troubleshooting all sorts of problems, the whole coilgun was assembled and ready to go. The first full-power test shots were fired on July 1st, 2013. The first shot was a success. Immediately after the second shot, the IGBT controlling the first stage failed dead-short and exploded. The battery fuse failed to trip, allowing the first stage coil to melt and burn quite thoroughly. The entire incident can be observed below:
After making this video I was so amped up on science I couldn’t sleep until two in the morning
Fortunately, the circuit board fuses worked properly and protected the rest of the components. The cause of IGBT failure was later determined to be excessive voltage allowed by a blown resistor in the voltage suppression circuit. The first stage coil had to be replaced, and all eight voltage suppressors were refitted with higher wattage resistors to widen the safety margin. Thanks to requirement 4 (maintainability) the repairs were quick and the gun was back up and running in less than two weeks. The results of the full performance characterization are shown below.
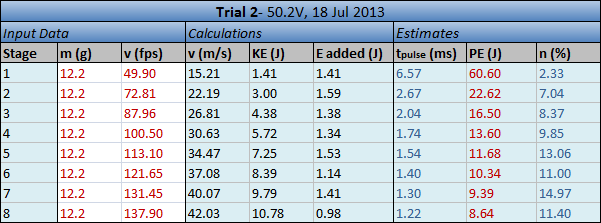 Final Testing Results
With a total efficiency of 7.0% the results are extremely pleasing (compared to a typical 2% coilgun). As expected, performance had improved since initial testing. This is due to the resistors that I added to the voltage suppression circuits to quench the coil current more quickly. This drastically reduces suck-back, especially in later stages where the projectile is moving very fast. The efficiency of the first and last coils dropped (relative to the other stages), likely due to induction of eddy currents in the aluminum gun frame which the first and last coils are now mounted into. As to what causes the performance drop on the 6th stage, I have no theories. Oddly, looking back at the initial test with 7 stages, the 3rd-to-last stage performed low as well.
Completion
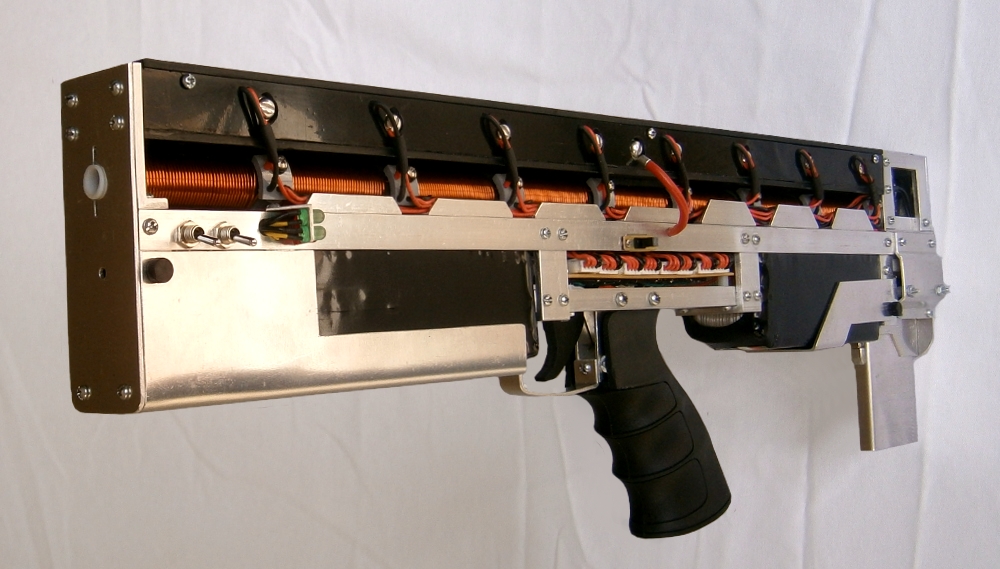
After an eternity of sawing, filing, drilling and soldering I suddenly realized that there was nothing left to be done and the gun was finished. Somehow everything turned out better than I expected, from the appearance of the gun to the performance numbers. All of the goals were met, except rate of fire which came in at 7.7 rounds/sec. This could be increased by changing a single resistor in the injector control circuit, but I chose to keep it this way since the coils won’t heat up as quickly.
The battery powered coilgun equation was remarkably accurate in determining the power required. This is because the actual acceleration of the projectile was very close to being constant, which was the key assumption of that equation. The efficiency guess (6-10%) was also fairly close. However, the 40mΩ series resistance prediction was way off- actual series resistance was closer to 100mΩ due to unexpectedly high internal resistance within the battery cells. The coils only get about 190A instead of the 300A I planned for, but since the 300A was way over-designed, the coils still get enough current to meet the projectile power demands. This means I could have gotten away with using the smaller 2500mAh batteries, but the bigger batteries provide the advantage of being able to power far more shots. While testing and making the video, I put about 100 rounds through the gun and the batteries only dropped from 50.20 to 49.03V. I could probably fire several hundred more rounds before the batteries drain to the minimum 36V and need a recharge.
In the end, I’m very happy with how it turned out. Holding the gun makes you feel like a mad scientist, and firing full-auto bursts is both satisfying and terrifying at the same time. Project complete!
